Ready to walk through the process I went through to transform this original image:
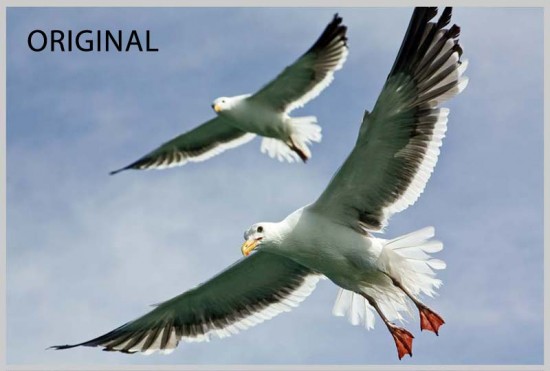
into this one?
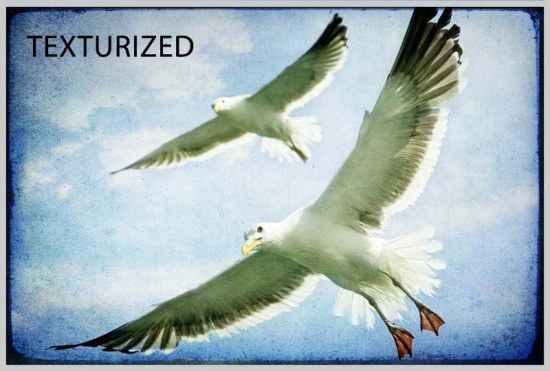
Rather than just explain the steps, I thought it would be a whole lot more fun to illustrate them. ![]()
Here is the texture I chose to use for this:
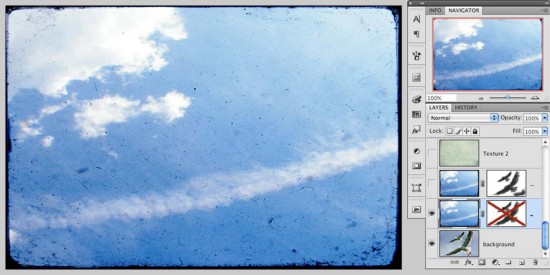
After adding the layer I set it’s blend mode to Soft Light.
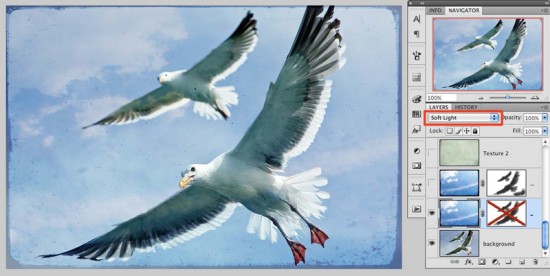
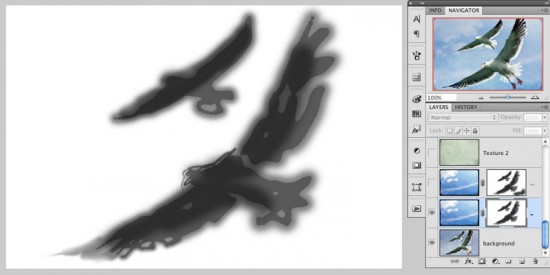
I felt like I didn’t want as much of the texture showing through the birds so I put a mask on the layer and painted with a soft 50% opacity black brush on the birds until I was happy with the result. The mask ended up looking like this:
After adding the masking the image looked like this:
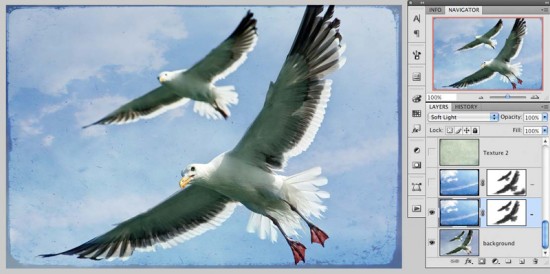
If that’s all you wanted to do, it would be a fine place to stop. You can do a lot just adding one texture to an image. But I wanted to keep going …
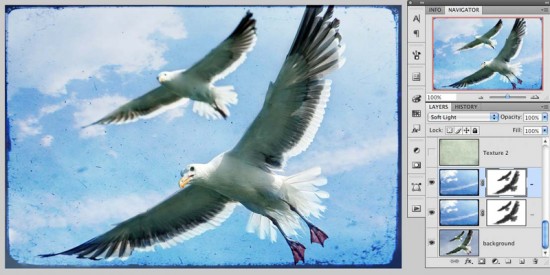
I thought the whole thing could be a little punchier so I duplicated the texture layer (including the mask) and placed it on Soft Light, which pumped up the whole thing a bit:
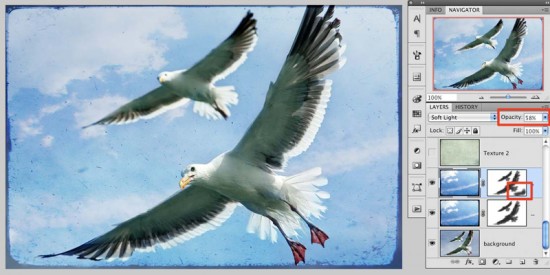
I thought it was a little too punchy though, especially in the bottom right corner, so I added a little painting on the mask in that area, then I lowered the layer’s opacity to 58%.
At this point I wanted a little more texture in the image, so I chose this one to add on:
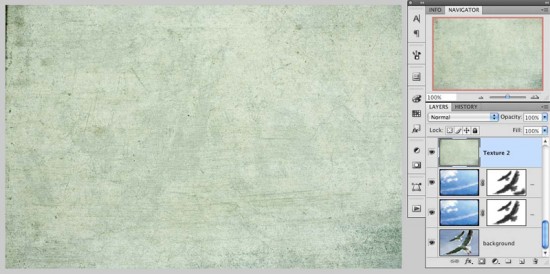
I changed it’s blend mode again to Soft Light:
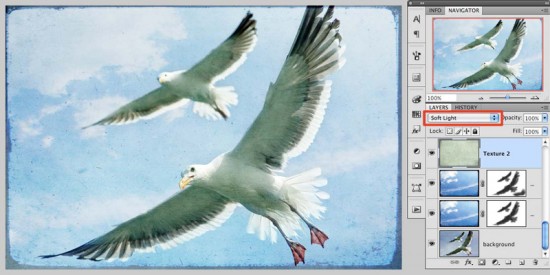
Call my crazy, but I wanted even more texture variation, so I added this texture:
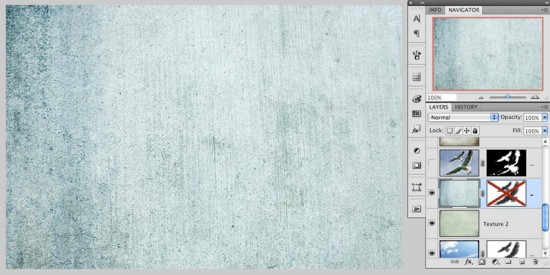
And set it’s blend mode on Soft Light:
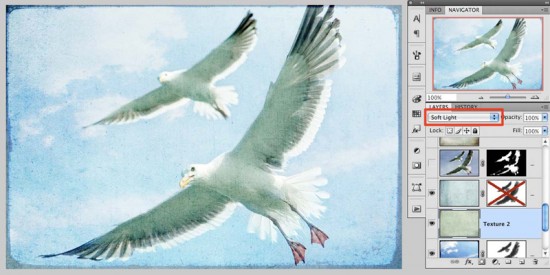
But I felt like I didn’t want it so much in the birds so I duplicated one of my earlier layer masks on top of it:
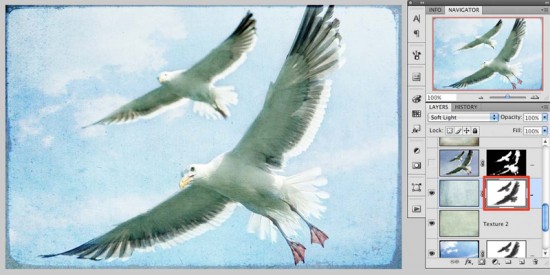
It’s all getting a little too crazy so I wanted to bring some of the original birds back in. I duplicated the background layer and set it’s opacity to 30%:
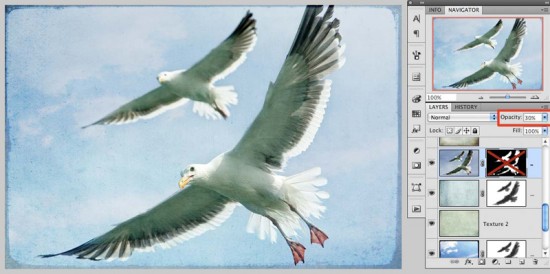
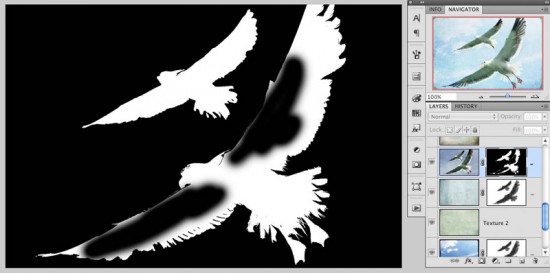
I didn’t want to bring that realism into everything though, so I masked the layer out and painted back in with white on the areas where I wanted the original layer to show through:
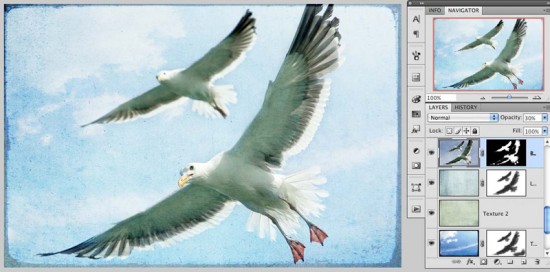
Here’s how it looked at this point:
Now I wanted to bring in even more texture, this time with some varied tones and a bit of darker edges. I chose this one:
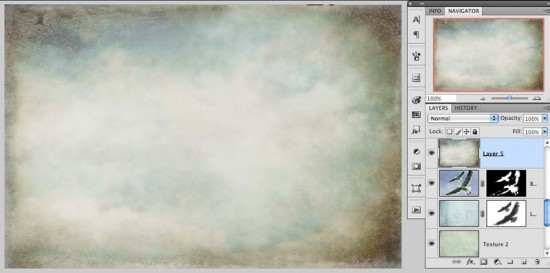
I set it’s blend mode to Soft Light with an opacity of 80%:
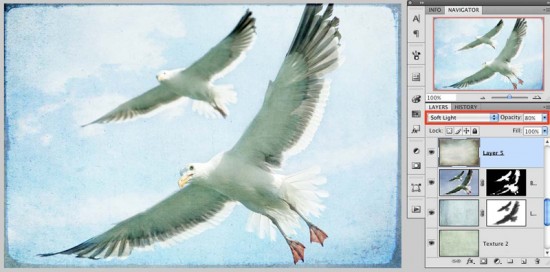
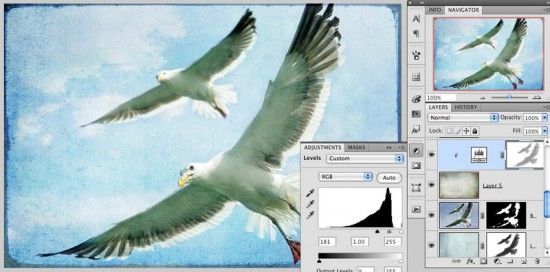
Things now looked a bit washed out so I did a Levels Adjustment on the entire image and darkened it up a bit:
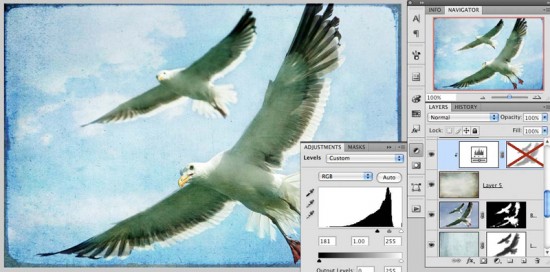
I don’t want the darkening quite so much on the birds so I did a mask and painted on it with with a low opacity black brush:
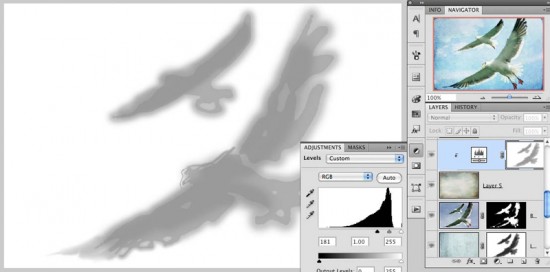
This is what we’ve got at this point:
Now I made a copy of the background layer and put a Black and White Adjustment Layer on it:
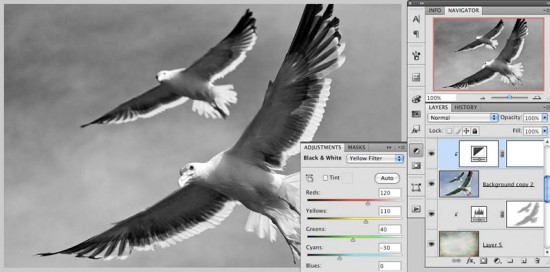
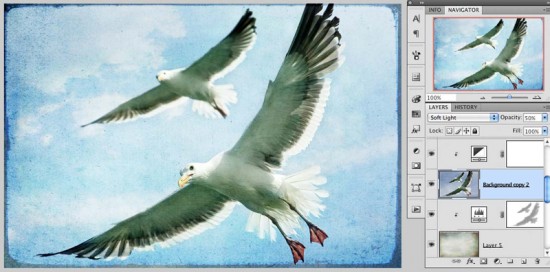
Then I lowered that layers opacity to 50% and set it to Soft Light. This helps to increase the contrast and “pop” just a bit:
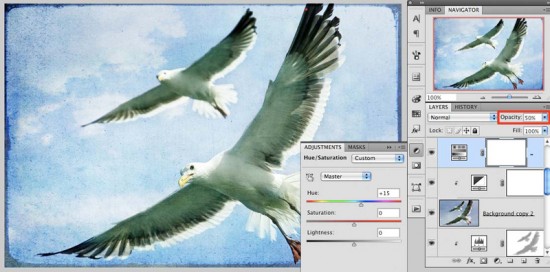
At this point I felt like things were getting a little too green, and wanted to pull it back to the blues. I applied a Hue Adjustment Layer to the whole image and then set it’s opacity to 50%:
I found one more texture I wanted to use to darken the edges a bit:
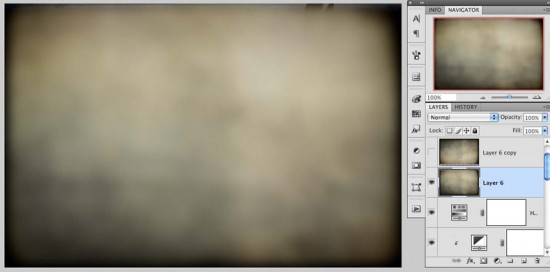
I set this layer’s blend mode to Soft Light:
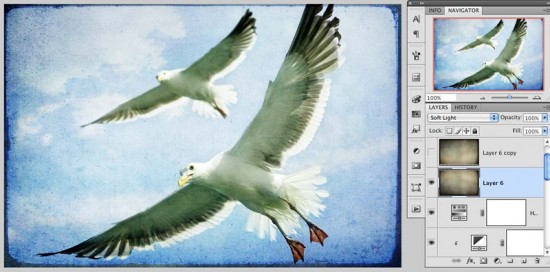
I felt like it was darker on the bottom than the top so I duplicated that layer and flipped it vertically:
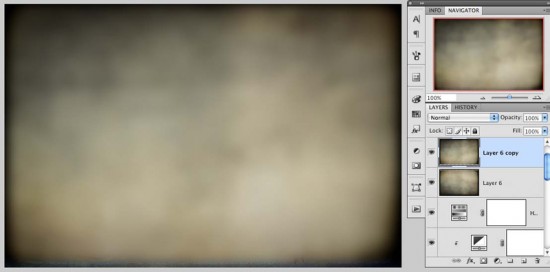
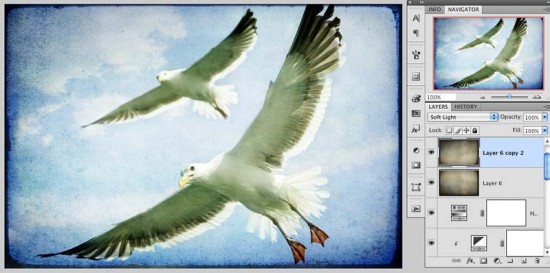
I changed that final layer’s blend mode to Soft Light and we’re done!
In addition to Soft Light you should experiment with the other blend modes. Multiply and Screen can be especially suitable to this work. And free textures abound on Flickr. Just type “free texture” into the search and you’ll have a lot to sift through. But please do make sure that the texture is explicitly offered free for use – we certainly don’t want to break copyright laws!
So experiment with blend modes, opacities, adjustment layers, and masks, and have fun!
To download this entire tutorial with textures and examples, click here.

Very nicely explained, and I’m touched you’ve chosen a few of my textures in this tutorial.
If interested, the textures on my blog [ http://shadowhousecreations.blogspot.com/ ] are much newer and better.