Portfolios can be very hard to create when you don’t have inspiration or are just beginning in the web design field. In this tutorial you will be exposed to simple techniques as well as a few more complex skills. When you’ve completed the tutorial your new layout will look like this:

Enjoy!
Step 1
Create a new document (w)1360px x (h)1900px background #ffffff
Note: To turn on your ruler and guide lines you must first go to View>>ruler and that turns on your ruler. To turn on your guide lines press CTRL + ; or CMD + ;

Step 2
Now drag the left guide line to the 200px line and on right drag it to the 1160px mark. There should be 200px of space on both sides leaving 960px in between.

Step 3
Select the rectangle tool color #00000 and create a rectangle box about 50px in height at the top of your canvas.
Note: The blue lines that are horizontal are 1px solid #00cef3.

Step 4
Now Select the type tool color:#00cef3, font: steiner, size: 54px, and create a name for your website. I’ve chosen Abstrolio.

Step 5
Select the custom shape tool panel and choose any symbol for your logo. I’ve chosen the seal custom shape. After you’ve gotten your custom shape, right click on the shape layer>>blending options. Select gradient and double click on the gradient bar. Left color:#00cef3, right color:#7cf4ff then press ok. Now select the type tool and add one letter to your logo symbol.

Step 6
Select the type tool font: veranda, size:14px, color:#fff and create your menu links. The most common portfolio links are Home, About, Services, Portfolio and Contact. After you have your menu links created select the rounded rectangle tool color:#00cef3 and create a rectangle behind the home word (for hover purposes). Then highlight just the home text and change the color to #000000.
Step 7
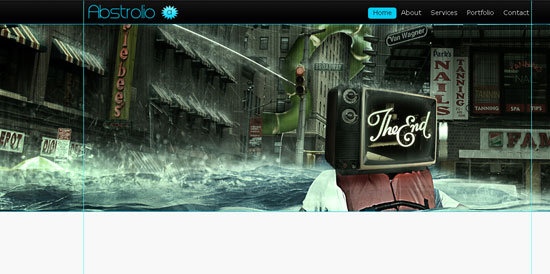
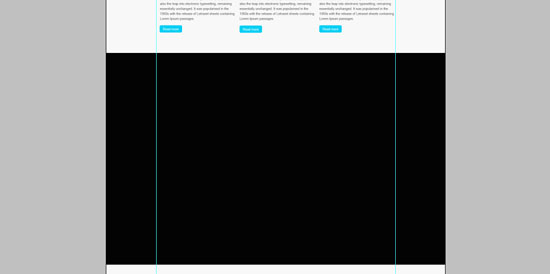
Next we will be creating our full width page slider. Grab any image you would like and create a full width slider for your portfolio layout. The height of the image should be 400px x 1360px wide.
Step 8
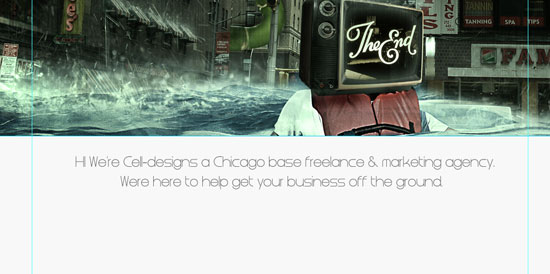
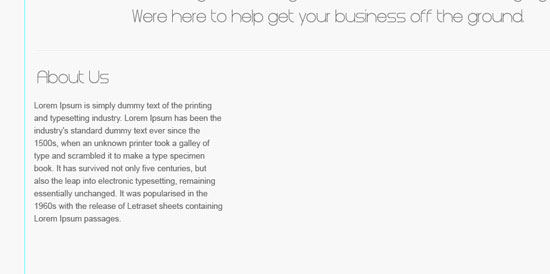
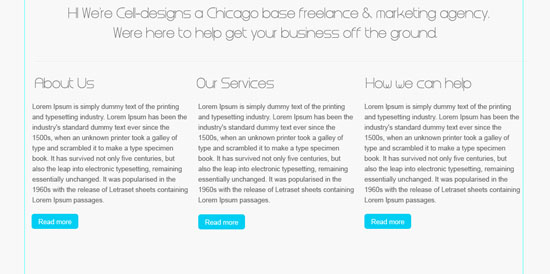
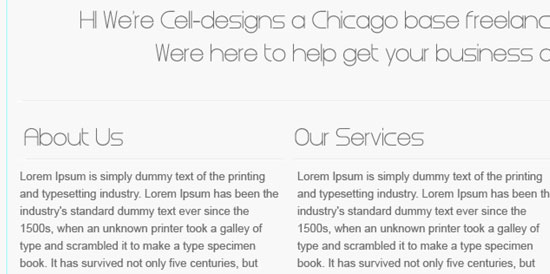
Select the type tool font: steiner, size: 24px, and align text center, then create a brief description about your company or service.
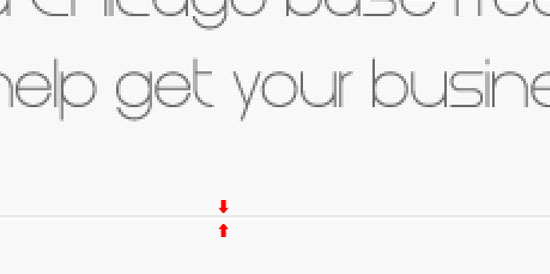
Step 9
Now we’re going to create a press effect with the line tool. Select the line tool 1px color:#eaeaea and create a 1px line across the document right under your brief description. Then create a new 1px line color:#fffff right directly under your first line and that should give you a press effect.
Step 10
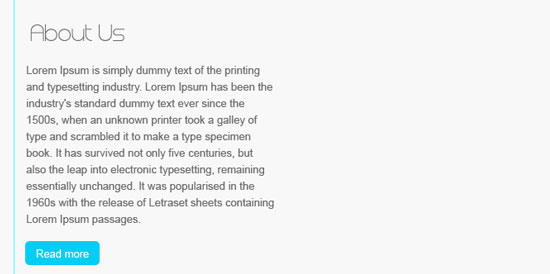
Select the type tool font: steiner, size: 24px, and create one of the headings for your portfolio. Then select the type tool again. Change the font to arial and the size to 13px and create
dummy text for your paragraph. I usually just use lorem ispum.
Step 11
Now select the rounded rectangle tool color:#00cef3 and create a small rectangle. Then create a read more text color:#ffffff over your button.
Step 12
Now add your heading, paragraph and button to a group and duplicate the group 2 times. Then change the other 2 headings.
Step 13
Earlier in this tutorial we created a 2px press effect. Copy and duplicate that layer and drag it under your headings. It will all be one line but if you select the eraser tool and erase the space in
between, each heading press effect will be separated.
Step 14
Now select the rectangle tool color:#000000 and create a rectangle box; height 850px to hold our portfolio items and text. There should be white space below the portfolio container.
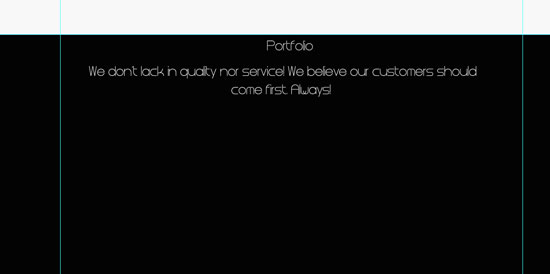
Step 15
Select the type tool font: steiner, size: 24px, color:#ffffff and create the portfolio title and then create a another brief description that describes your service.
Step 16
Next we’re going to create our portfolio items. We’re going to have 3 items per row with 10px to the left and between each item. The height of the box is 300px and the width of it is 310px.
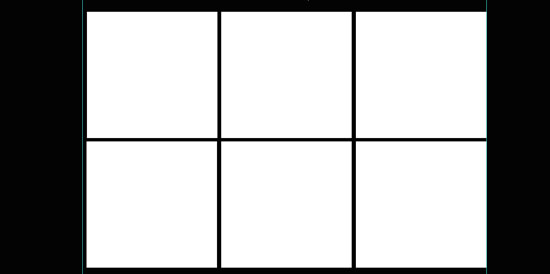
Step 17
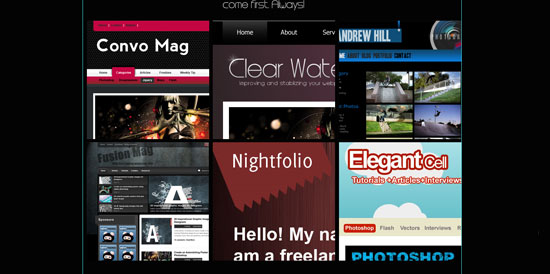
Now add some portfolio items to your portfolio section.
Step 18
Select the type tool (Click and hold to bring up single line text) font:arial, size:13px, and create your copyright text. Then hit your spacebar and to the right create the top text. Now you’re finished
and should have a nice portfolio layout.
If you would like to download the .psd file for this tutorial, click here.
Awesome tutorial, It’s gonna help me a lot with my portfolio page on my site! thanks dude!
No problem. Good luck man.
Im not able to download the psd it says its incorrect file, would you check that?
Also, i would love to use this design to have it on HTML & CSS, can I use this design to do it? Obviously I would make a link for you =)
Yes I will look into that. As for the design it is fine for use but must be linked back to me.
How easy, simple and creative was that.
Thank you! =)
Sorry about the .psd file not downloading. It is fixed!
It’s a nice design however this tutorial could have been better explained. For example, you don’t mention the layers within your steps. I believe this to be important for those starting out. Just seemed like your threw this together.
Thanks Nelson for your comment. This tutorial could of been better explain but if you’re trying to create a website you don’t need every step to complete a website. I felt this tutorial was fairly simple and would help individuals who maybe want to try it for themselves. Giving step by step makes readers not want to try the tutorial because they’re probably like this tutorial is like others but leaving out some stuff makes them try in wonder. Also I did not leave out anything they shouldn’t already know. Sorry you felt that way about this tutorial Nelson
Today as we know there is so much demand of designing, in every IT field designing is very necessary. And Photo shop is great tool for this. It is really very helpful and easy to use also. I had used this and from my experience i ca say it is totally mind blowing. This is really a amazing work.
Thanks sarfraz!
This is what I’m looking for. I should try this. Thanks Marcell.
Very impressive! As a developer, I look at the creativity of designers and artists, and I am truly amazed. May hat is off to all of you. Great Job!
Very good tutorial! I like the sort of tiled effect that you end up with at step 16. Nice!
It very good tutorial!
You can find many funny photoshopped images and sometimes images not photoshopped with image original quality. How to find out whether the image is original or photoshopped picture ? Here is an online tool that let you to find if the image has gone under some digital manipulation: Photoshopped Image Killer.